A wax jacket changes as it is worn. Areas that flex, rub and take the weather gradually lose some of their wax; the surface can become drier and lighter in places, particularly across sleeves, seams, shoulders, pockets and repeated creases.
Re-waxing restores dressing to the waxed-cotton surface. Done carefully, it can restore the water-repellent character of depleted waxed cotton, even out dry areas and return the cloth to the darker, richer appearance associated with a freshly treated wax jacket.
This Roberts London guide is based partly on an original film in which we wore a Barbour jacket through London, visited Barbour at Leadenhall Market and then re-waxed the jacket at home. The process footage gives us a useful record of how the material actually changes as fresh dressing is applied: it does not become perfectly even at once, and the difference between dry cloth, freshly waxed cloth and the finished surface is quite visible.
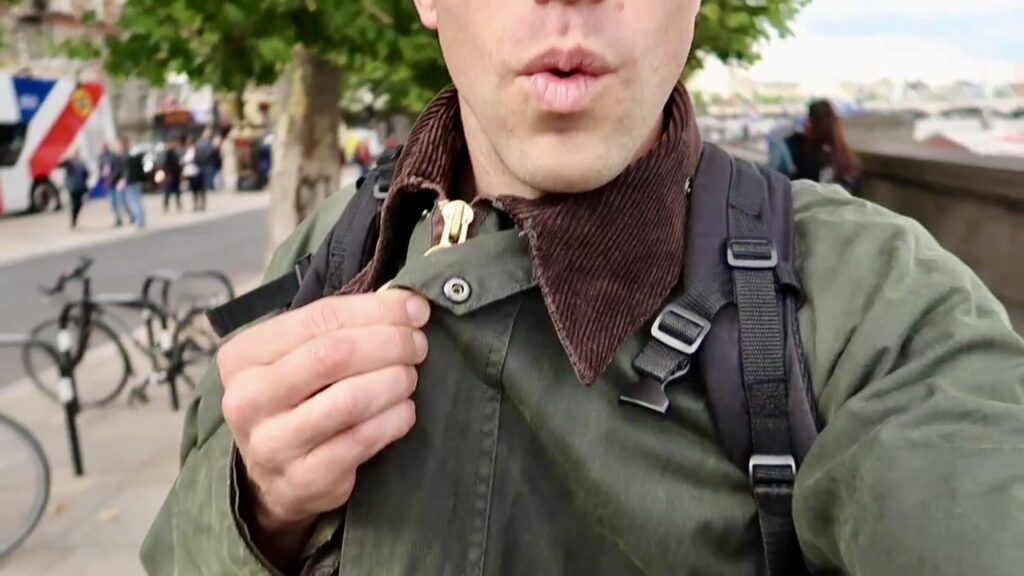
There is one important point before beginning: not every Barbour wax garment should be treated in exactly the same way. Check the care label and identify the fabric and treatment first. Barbour publishes different re-waxing processes for its classic 6oz wax and lightweight 4oz wax. The step-by-step method below follows Barbour’s current classic 6oz softened-dressing process, which is also the method most closely represented in the original Roberts London film.
In brief: Clean the jacket gently with cold water only, allow it to dry, soften the correct wax dressing in hot water, work a controlled amount into the waxed cotton section by section, pay close attention to seams, creases and dry areas, remove excess dressing, then hang the jacket to dry overnight away from other clothing and upholstery.
Watch the original Roberts London re-waxing film
The film begins with the jacket being worn around London and a visit to Barbour at Leadenhall Market. The practical at-home re-waxing section begins at approximately 7:54.

Before you start: identify the jacket and the correct treatment
Do not choose a wax simply because the garment has a Barbour label.
Barbour has used different waxed-cotton weights and treatments, and its current care guidance separates the traditional softened-dressing method from the process used for lightweight 4oz waxed garments. Check the care label inside the jacket before applying anything.
For a jacket whose care instructions call for Barbour’s classic 6oz process, the current method uses Barbour Wax Thornproof Dressing softened in hot water. Barbour’s lightweight 4oz process instead uses a lightweight wax stick and a lint-free cloth.
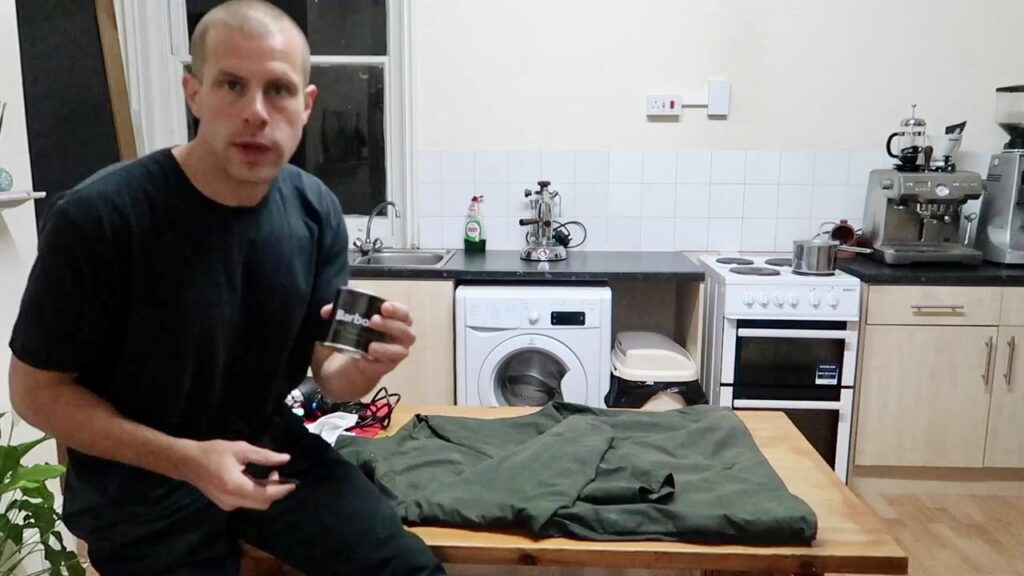
When the exact fabric or treatment is uncertain, establish that first from the care label or current manufacturer guidance. Do not assume that a technique shown on one Barbour wax jacket automatically applies to every waxed garment in the range.
How can you tell when a wax jacket needs re-waxing?
There is no need to wait until the entire jacket looks uniformly dry.
On a well-used wax jacket, depletion often appears unevenly. Look closely at:
- shoulders and upper sleeves;
- elbows and repeated creases;
- seams;
- pocket edges;
- cuffs;
- the front of the jacket where it is handled most often.
Dry areas generally look flatter, paler or more matt than sections that still retain a healthy wax finish. The original Roberts London footage shows this particularly clearly once fresh dressing is applied beside untreated cloth: the contrast makes it obvious how unevenly a jacket can lose wax through ordinary wear.
Barbour recommends re-waxing approximately once a year depending on wear and use, but the jacket’s condition matters more than treating the date as a rigid timetable.
What you need to re-wax a traditional Barbour wax jacket
For the classic softened-dressing method, prepare:
- the correct wax dressing for the jacket;
- a pan, bowl or other heat-safe container;
- hot water;
- an old clean cloth, rag or suitable sponge;
- a protected work surface;
- a sturdy hanger;
- enough time to work methodically and leave the jacket overnight afterwards.
Do not put the wax tin directly over a flame or hob. The dressing is softened by standing the tin in hot water.
Step 1: Clean the jacket before applying fresh wax
Do not seal dirt into the surface beneath a new layer of dressing.
Brush away loose dry dirt gently, then wipe the exterior with a sponge or suitable soft cloth and cold water. Do not use ordinary soap, washing detergent or a washing machine on a traditional Barbour waxed-cotton jacket.
The jacket should also be completely dry before re-waxing begins.
A full cleaning process deserves more detail than can sensibly fit inside a waxing tutorial, particularly where linings, odours or mildew are involved. See our separate guide to how to clean a Barbour wax jacket without damaging the wax for the complete cleaning method.
Step 2: Soften the wax dressing
Remove the lid from the tin and stand it in a container of hot water.
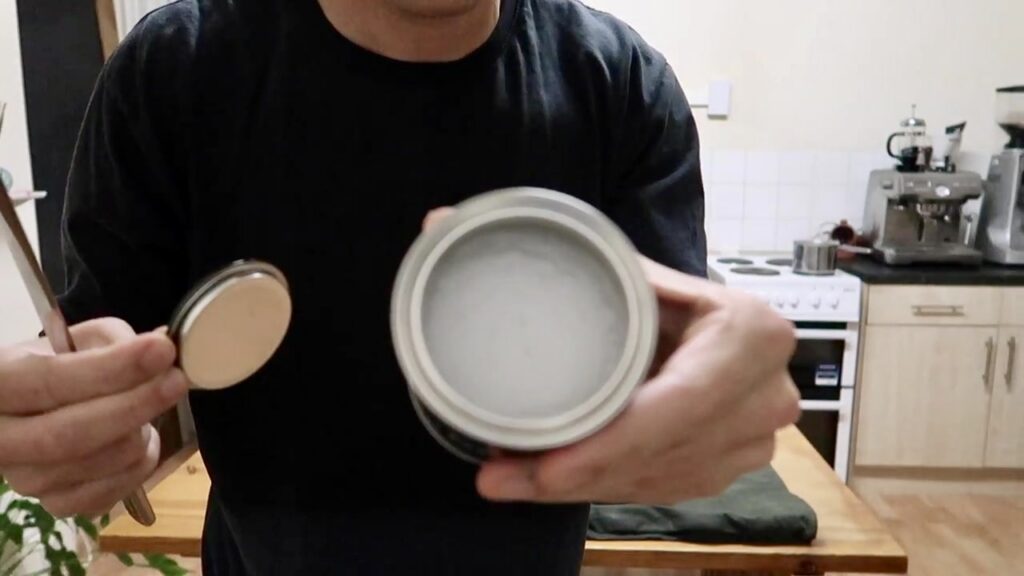
The aim is to soften the dressing until it reaches a workable, more liquid consistency. For the classic method, allow roughly 20 minutes for the wax to soften thoroughly.
Keep the tin standing in hot water while you work. If the dressing begins to firm up again, refresh the hot water rather than trying to compensate by forcing increasingly solid wax across the cloth.
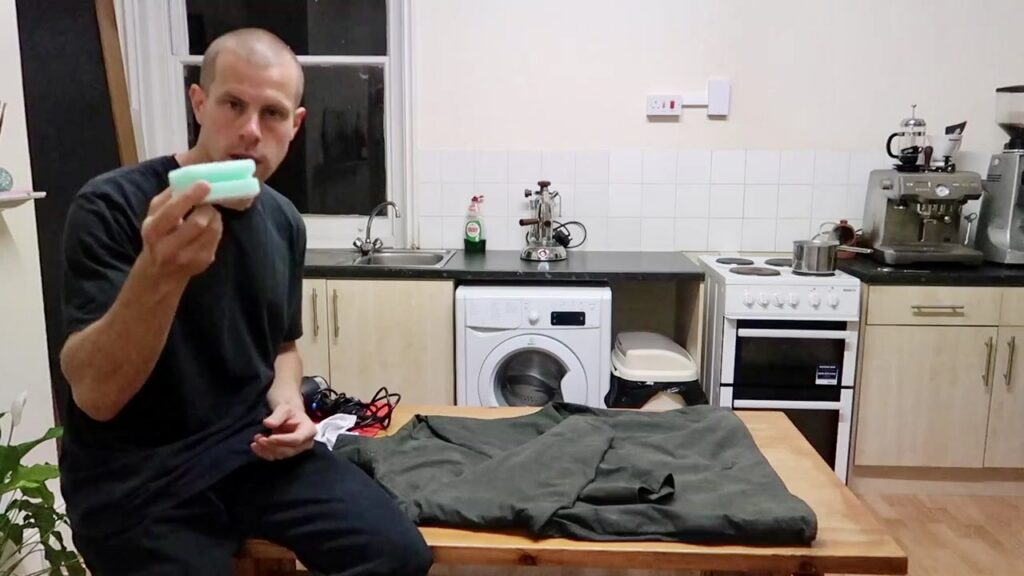
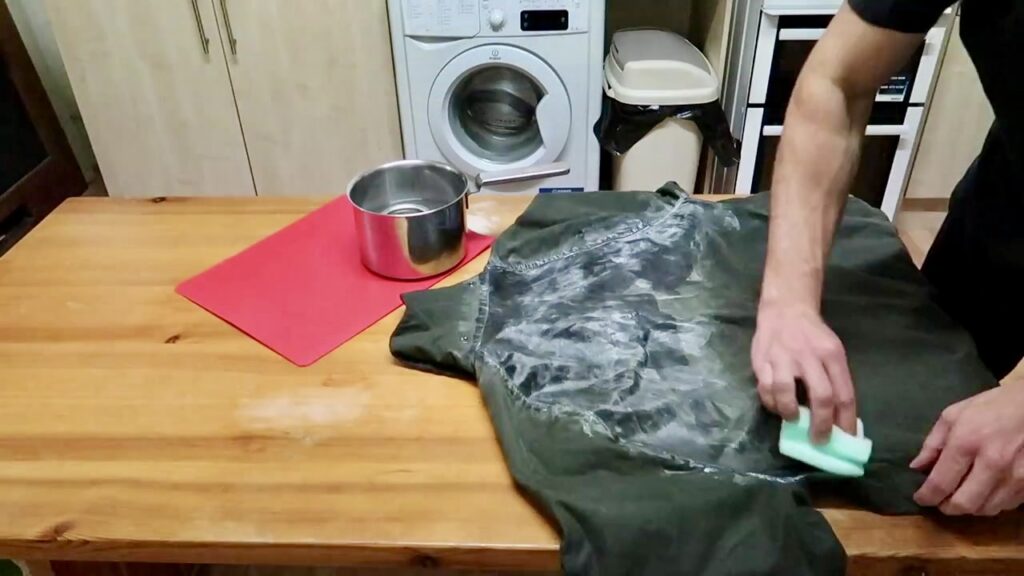
In the original Roberts London film, this stage is easy to see: the jacket is laid flat, the softened dressing remains beside it, and the applicator is repeatedly returned to the wax as each section is treated.
Step 3: Lay the jacket flat and work in small sections
A large table makes the job considerably easier.
Lay the jacket flat and arrange it so that the section you are treating is supported rather than folded underneath itself. Load a small amount of softened dressing onto the cloth, rag or sponge and begin working it into the waxed cotton.
Do not try to cover the entire jacket in one hurried pass.
Working section by section has two advantages:
- it is easier to spread the dressing evenly before it starts to cool;
- you can see which areas have been treated and which still need attention.
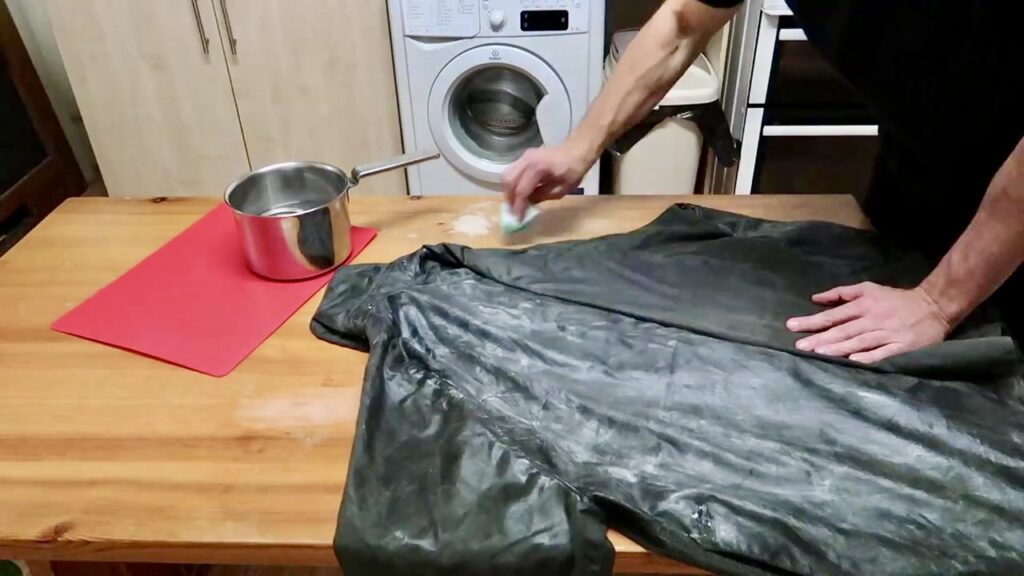
Fresh wax can look surprisingly obvious during application. In our original footage, newly treated areas initially appear lighter and streakier under the room lighting before the dressing is worked into the fabric and the surface settles. Do not judge the final result from the first few strokes.
Step 4: Work the dressing into dry areas, seams and creases
The objective is not simply to paint wax across the top of the jacket.
Work the softened dressing into the cotton with controlled, overlapping movements. Give particular attention to areas where wax depletion is most visible and to the construction details that are easy to rush past.
Seams
Work carefully along seams rather than skimming straight over them. These areas flex, hold creases and can show dryness distinctly.
Pockets
Treat the waxed cotton around pocket openings, flaps and edges, but do not push dressing into the inside of the pockets.
Sleeves and elbows
Reposition the sleeve so that you can treat its full circumference and see repeated creases clearly. Elbows and lower sleeves often reveal wear before broad body panels do.
Shoulders and other high-wear areas
Compare the surface as you work. Areas that still retain more wax may need less dressing than cloth that has become visibly depleted.
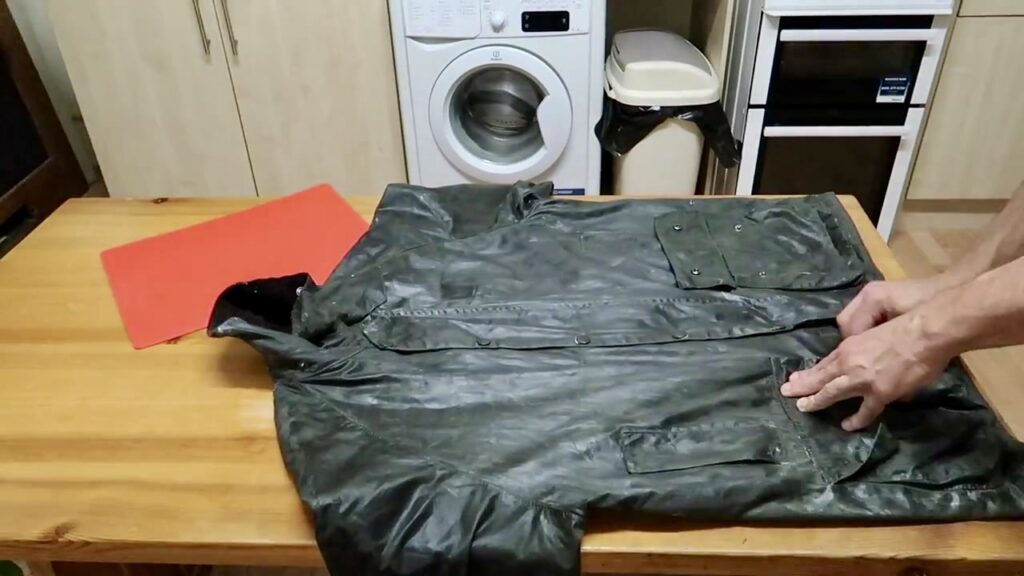
Avoid getting wax on the corduroy collar, the jacket lining or the inside of the pockets.
Step 5: Use enough wax to treat the cloth, but do not leave heavy excess
More wax is not automatically better.
A common mistake is to keep adding dressing because the surface does not immediately look perfectly uniform. That can leave unnecessarily heavy deposits sitting on top of the cloth.
Apply enough to work into the fabric, then spread it thoroughly before deciding that more is required. If an area remains heavily loaded after working, wipe away the excess with a clean cloth.
The treated-versus-untreated frames from our original film are useful here. The freshly dressed sections are visibly different, but the aim is a controlled, continuous finish rather than thick ridges or pools of wax.
Step 6: Even the finish and remove excess dressing
Once a panel has been treated, look across it from different angles.
Check for:
- obvious heavy deposits;
- missed dry patches;
- wax collecting beside seams or fastenings;
- abrupt untreated strips between sections.
Use a clean cloth to work or remove excess dressing where necessary.
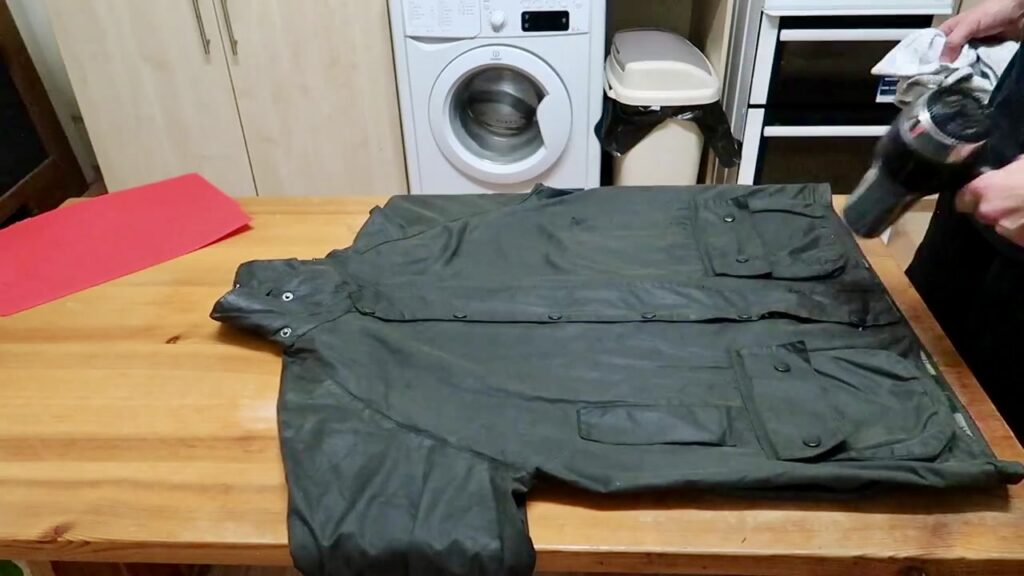
The surface does not need to look like polished fabric. A freshly re-waxed jacket will often look darker and may carry more sheen than it did before treatment. That appearance changes as the jacket settles and is worn again.
Should you use a hairdryer when re-waxing a Barbour jacket?
A hairdryer appears in the original Roberts London re-waxing film, where gentle warmth and a cloth were used to help even freshly applied wax across the surface.
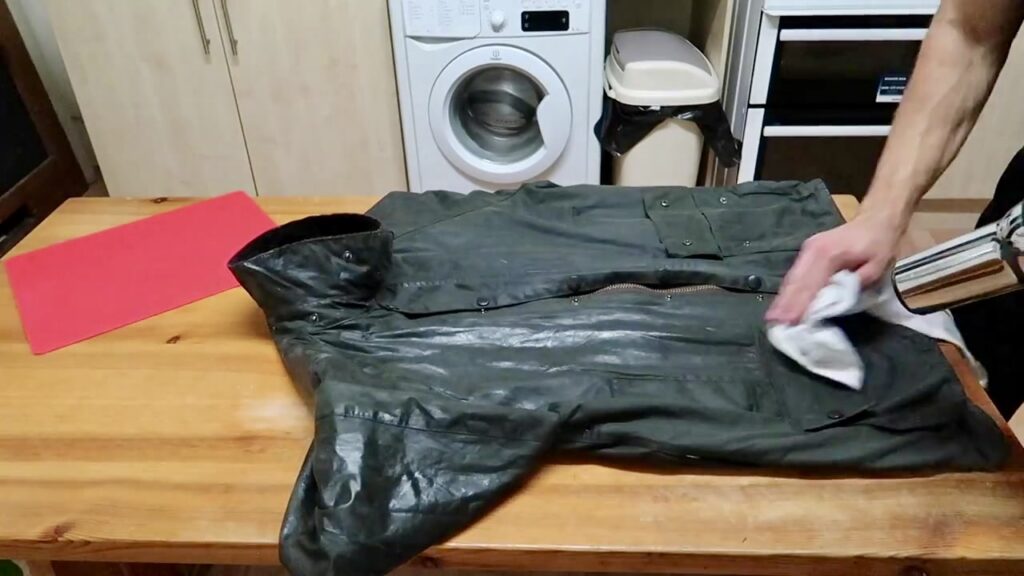
That should not be treated as a universal instruction for every Barbour wax jacket.
For the current classic 6oz softened-dressing process, a hairdryer is not a required step. Barbour’s separate lightweight 4oz care method does mention cautious hairdryer use as an optional way to soften wax and help it move more freely.
The sensible rule is therefore simple: follow the method for the specific fabric and wax treatment you actually have. Do not apply strong direct heat simply because an older video demonstrates it.
Step 7: Hang the jacket and leave it overnight
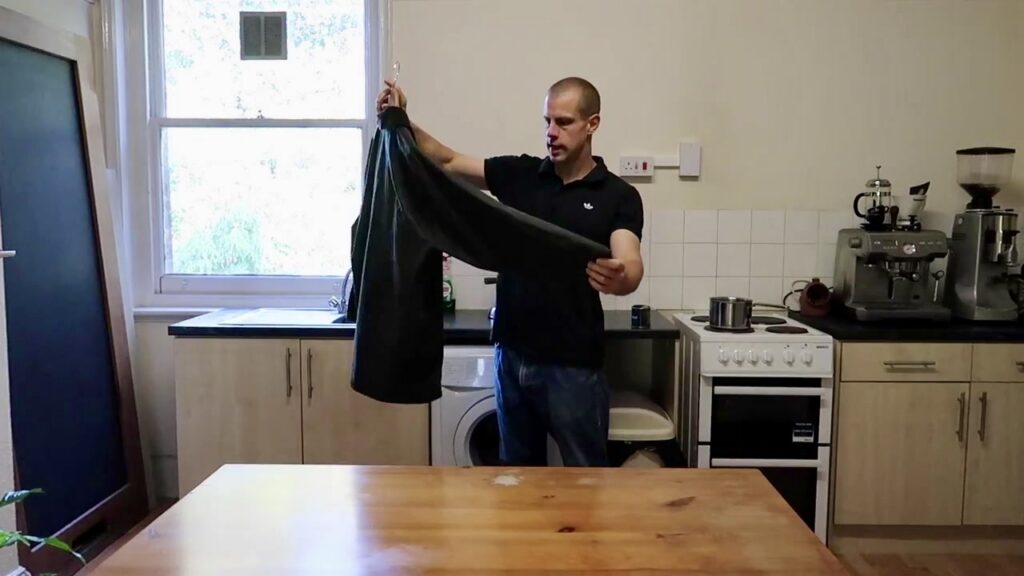
When the whole waxed-cotton surface has been treated and excess dressing removed, hang the jacket carefully.
Leave it overnight in an appropriate dry place, away from other garments, leather furniture and upholstery. A newly waxed jacket can release or transfer small amounts of excess dressing while the surface settles.
Do not put it straight back into a crowded wardrobe.
What should a freshly re-waxed Barbour jacket look and feel like?
Expect the jacket to look different immediately after treatment.
Depending on its colour, fabric and previous condition, the surface may appear:
- darker;
- richer in colour;
- more even across previously dry areas;
- slightly more lustrous or waxy at first.
That does not mean the finished jacket should be dripping, sticky or covered in obvious lumps of dressing.
In our footage, the most noticeable change is not simply shine. The depleted, uneven-looking cloth becomes visually more continuous as the treatment progresses. Once the finished jacket is lifted from the table and worn again, the colour appears deeper and the surface more uniformly treated.
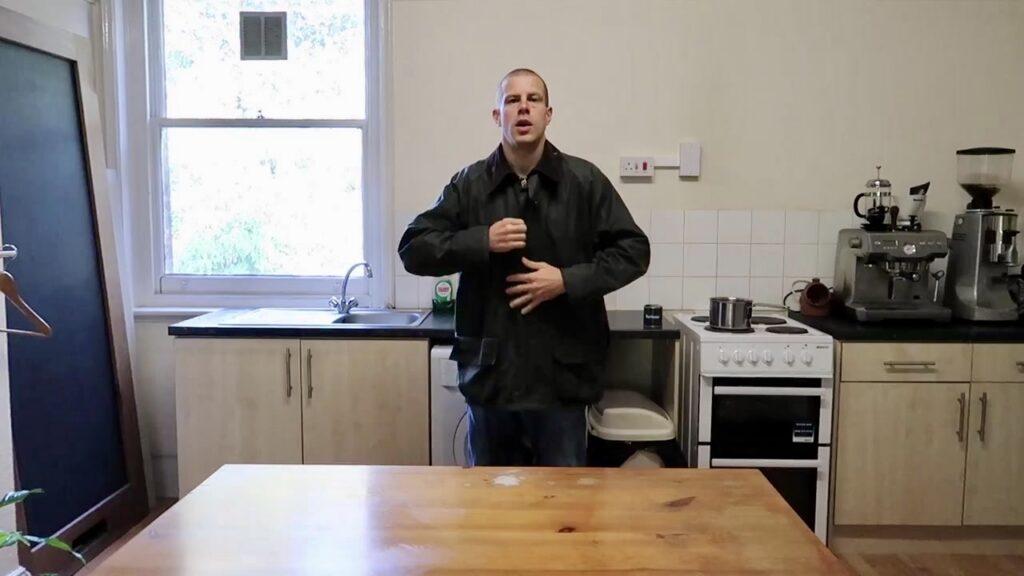
The appearance will continue to change with wear.
Common mistakes when re-waxing a Barbour jacket
Using the wrong treatment
Check the care label and identify the waxed fabric first. Do not assume one technique is correct for every Barbour garment.
Washing the jacket with soap or detergent first
Traditional waxed cotton should not be prepared by putting it through an ordinary wash. Clean the exterior using the correct cold-water method instead.
Re-waxing a damp jacket
Allow the jacket to dry completely after cleaning before applying fresh dressing.
Applying too much wax at once
Build a controlled, even treatment section by section rather than flooding the cloth.
Forgetting seams, creases and shaped areas
Broad panels are the easy part. Pockets, sleeves, seams and repeated creases need deliberate attention.
Waxing the corduroy collar, lining or inside of pockets
Keep the treatment on the waxed-cotton exterior for which it is intended.
Using excessive heat
Do not assume a hairdryer or other heat source is necessary. Where a garment-specific method permits gentle warmth, use it cautiously and never hold concentrated heat close to the cloth.
Expecting wax to repair physical damage
Re-waxing changes the condition of the waxed surface. It cannot mend torn fabric, worn-through cuffs, failed seams, a damaged zip or broken studs.
What re-waxing can — and cannot — fix
Re-waxing is appropriate when the problem is primarily depleted wax.
It can improve:
- dry-looking waxed cotton;
- uneven areas of wax depletion;
- water repellency associated with a properly maintained wax finish;
- the overall continuity of the treated surface.
It cannot repair:
- holes or tears;
- worn-through fabric;
- damaged pocket construction;
- broken zips;
- failed studs;
- structural seam failure.
Older jackets often need both processes: repair where the garment is physically damaged, followed by the appropriate re-waxing or cleaning treatment. Our separate guide, Repair or Re-Wax? What an Older Barbour Jacket Really Needs, explains how to tell the difference.
Frequently asked questions
How often should you re-wax a Barbour jacket?
Barbour recommends approximately once a year depending on wear and use. Treat that as a guideline rather than a rigid deadline. A jacket worn frequently in wet conditions will age differently from one used occasionally. Look at the surface, especially high-wear areas, as well as the calendar.
Can you wash a Barbour wax jacket before re-waxing it?
Do not machine wash a traditional Barbour waxed-cotton jacket or clean it with ordinary soap or detergent. The usual preparation is gentle exterior cleaning with cold water and a suitable sponge or cloth, followed by complete drying before re-waxing.
How long does Barbour wax take to dry?
Leave the freshly re-waxed jacket hanging overnight. Keep it away from other garments and upholstery while excess dressing settles.
What wax should you use on a Barbour jacket?
Use the treatment specified for the jacket’s particular waxed fabric and care label. Barbour’s current guides use Barbour Wax Thornproof Dressing for the classic 6oz process and a lightweight wax stick for the lightweight 4oz process. Do not substitute a treatment simply because it is described generically as waterproofing wax.
Can you re-wax only part of a jacket?
Localised attention can make sense where a small high-wear area is clearly depleted, but an unevenly aged jacket may benefit from a full, methodical treatment so that the surface remains consistent. Assess the whole garment before starting.
Why does a Barbour jacket look darker after re-waxing?
Fresh dressing changes how the waxed cotton reflects light and deepens the appearance of many colours. A newly treated jacket can initially look darker and more lustrous; the appearance changes again as it is worn.
Can re-waxing fix a leaking or damaged jacket?
It depends on the cause. Depleted wax can reduce the water-repellent performance of the waxed surface and may be improved by the correct re-waxing treatment. Holes, torn cloth, broken fastenings and failed seams are repair issues, not waxing problems.
A jacket is easier to re-wax when you read the surface rather than rush the process
The practical lesson from re-waxing this jacket was how visible the process becomes once you slow down and work section by section.
Dry cloth, fresh dressing and properly worked wax do not look the same. The jacket itself tells you where attention is needed: along creases, seams, sleeves, pocket edges and the areas that have taken the most use.
The original Roberts London film remains useful because it records that change rather than merely describing it. The updated guidance is more careful about identifying the correct wax treatment first, avoiding inappropriate cleaning methods and treating the hairdryer sequence as an archive technique rather than a universal requirement.
A well-used wax jacket does not need to look new. The purpose of re-waxing is to maintain the waxed-cotton surface, replenish areas where the dressing has become depleted and preserve the character that develops through continued use.
